Outlook Sweep – how to find & use it to organize your inbox
Learn Outlook Sweep rules in Outlook 365 and use Outlook Sweep functions in order to organize your inbox. All you need to know about Outlook Sweep feature.

Short answer
What is Outlook Sweep?
Outlook Sweep is a feature that lets you bulk move emails in Outlook, or delete thousands of emails from your inbox in one go. Once a Sweep rule is created, Outlook Sweep will automatically run every 24 hours. You can find the Sweep option on the tool ribbon when selecting an email message in your inbox
Outlook Sweep is a great tool to have at your disposal. It’s a quick and easy way to remove unneeded emails and prevent your inbox from clogging up. This article will show you step by step how to set up Outlook Sweep rules so you can keep your inbox clean and tidy, and move closer to the coveted inbox zero.
Keep reading to learn more about Outlook Sweep and how you can get a seamless emailing experience using the feature.
Does outlook still have Sweep
Yes, Outlook still has Sweep… but the Sweep tool is only available in the Outlook 365 web app. The feature appears in the top tool ribbon when you open any email from any folder. However, it will not show for messages that you sent yourself.
Where to find Outlook Sweep
The Sweep tool is located on the toolbar of your Outlook online account. It shows when you select the email that you want to run the rules on. However, it does not show for sent emails.
Follow these steps to get to the feature:
1. Log in to your Microsoft account via the web browser
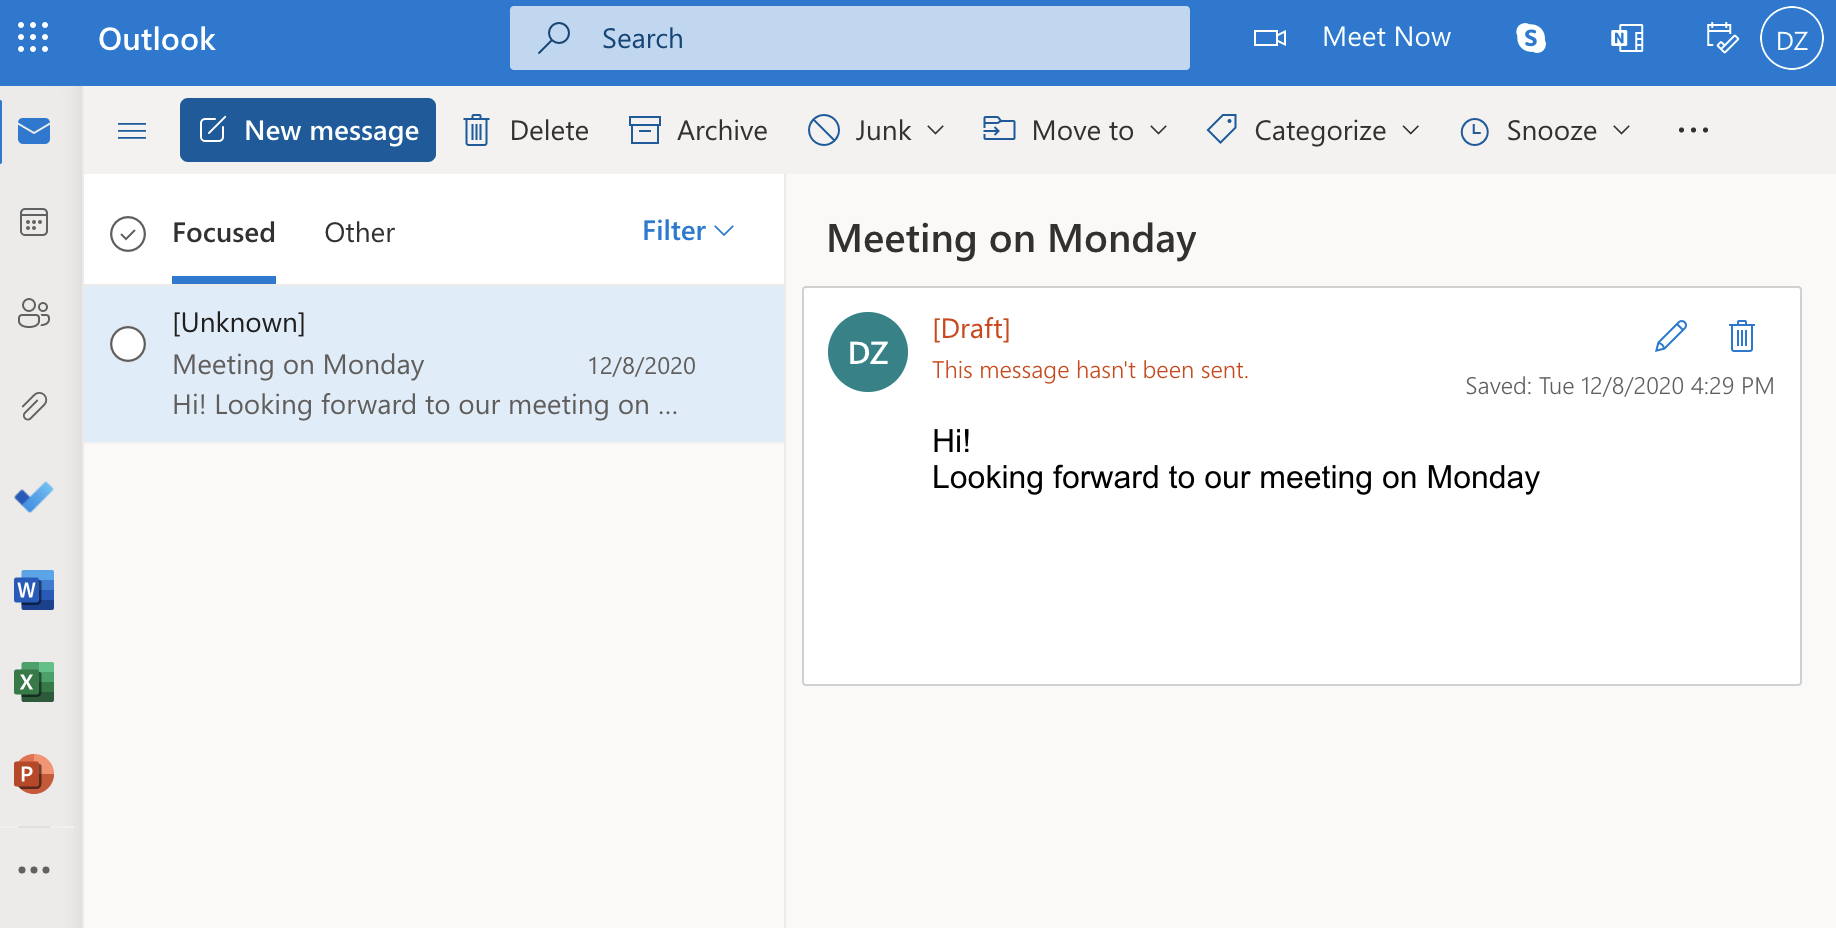
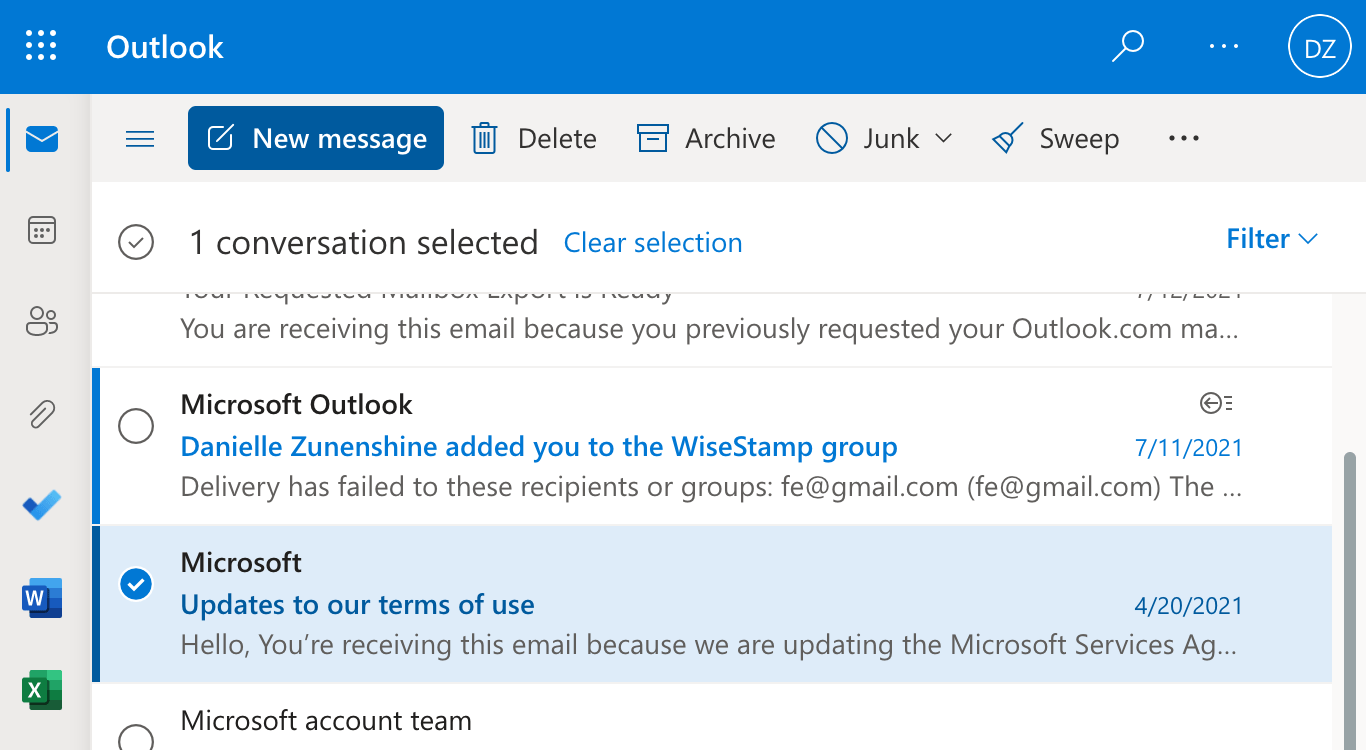
2. Select the email from the sender whose messages you want to run Sweep rules
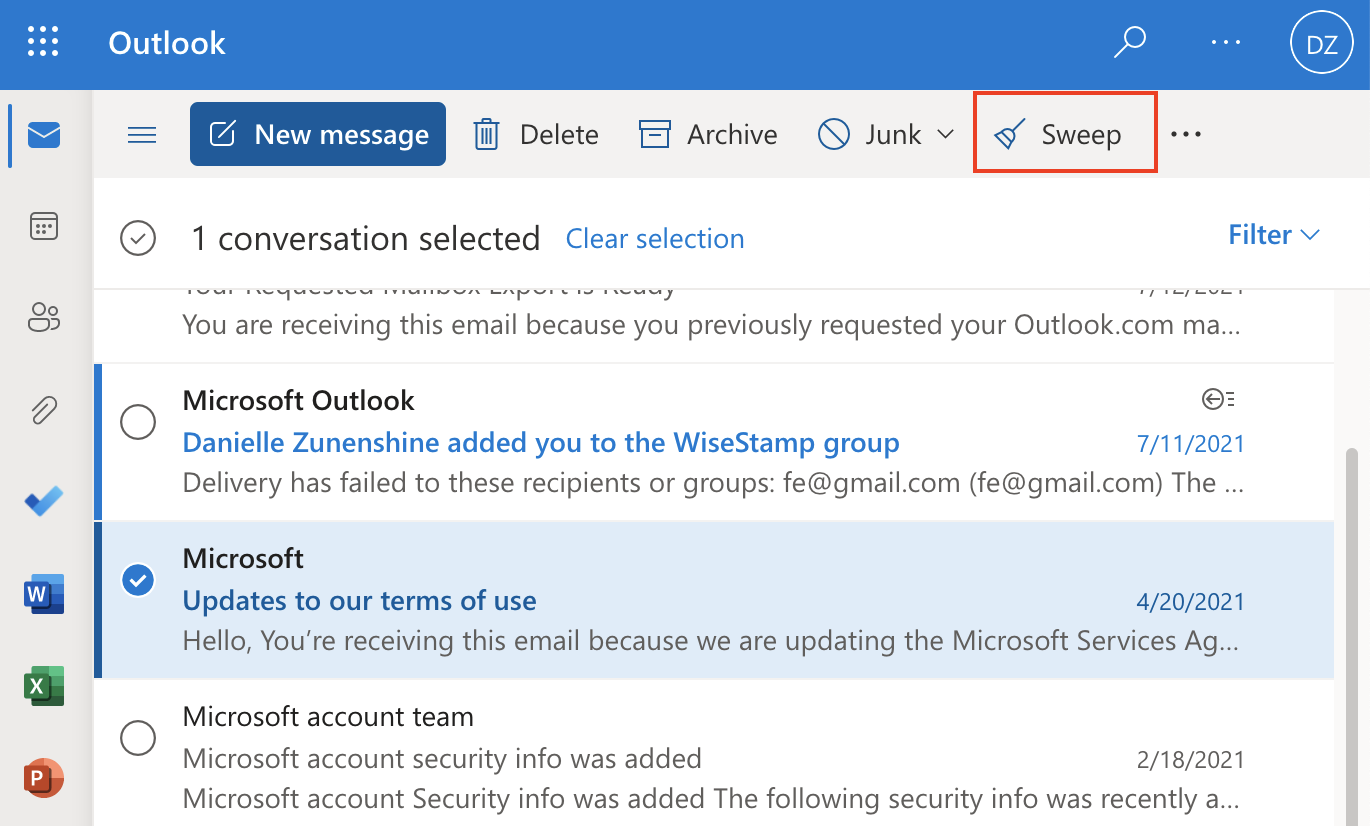
3. On the toolbar at the top, choose Sweep
Sweep rule options
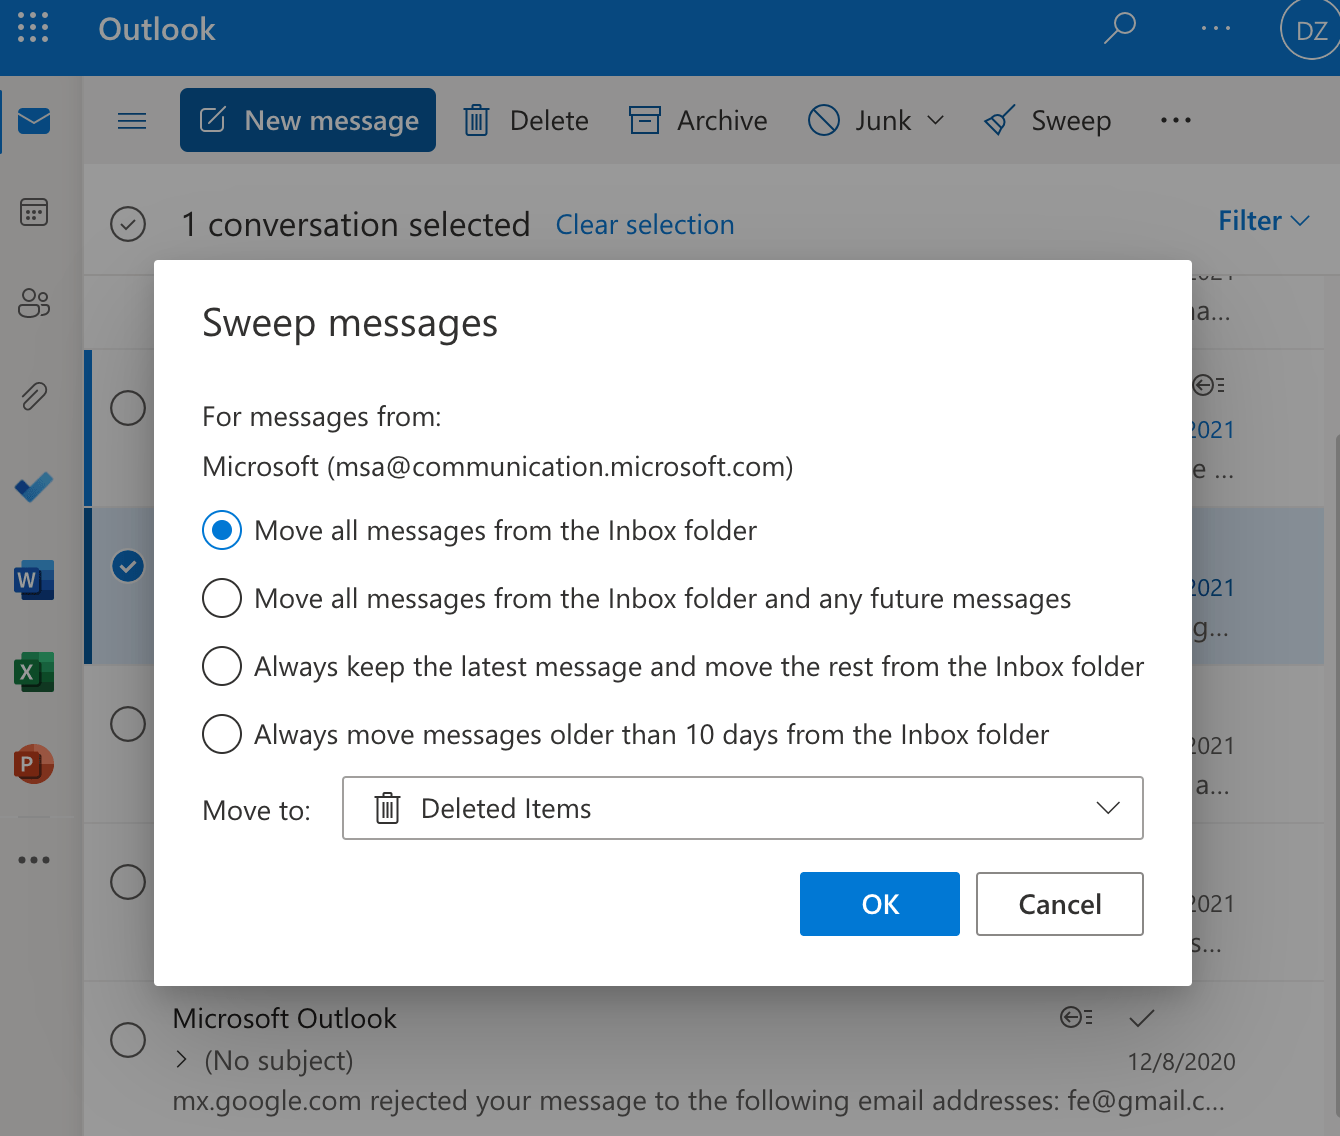
When you click on the Sweep feature in Outlook web, you get to see various rule options that you can run. At this stage, you can decide the action that you would like to execute.
Sweep rules are built from 2 directives: 1) which messages to move 2) What folder to move the messages to
Which messages to move:
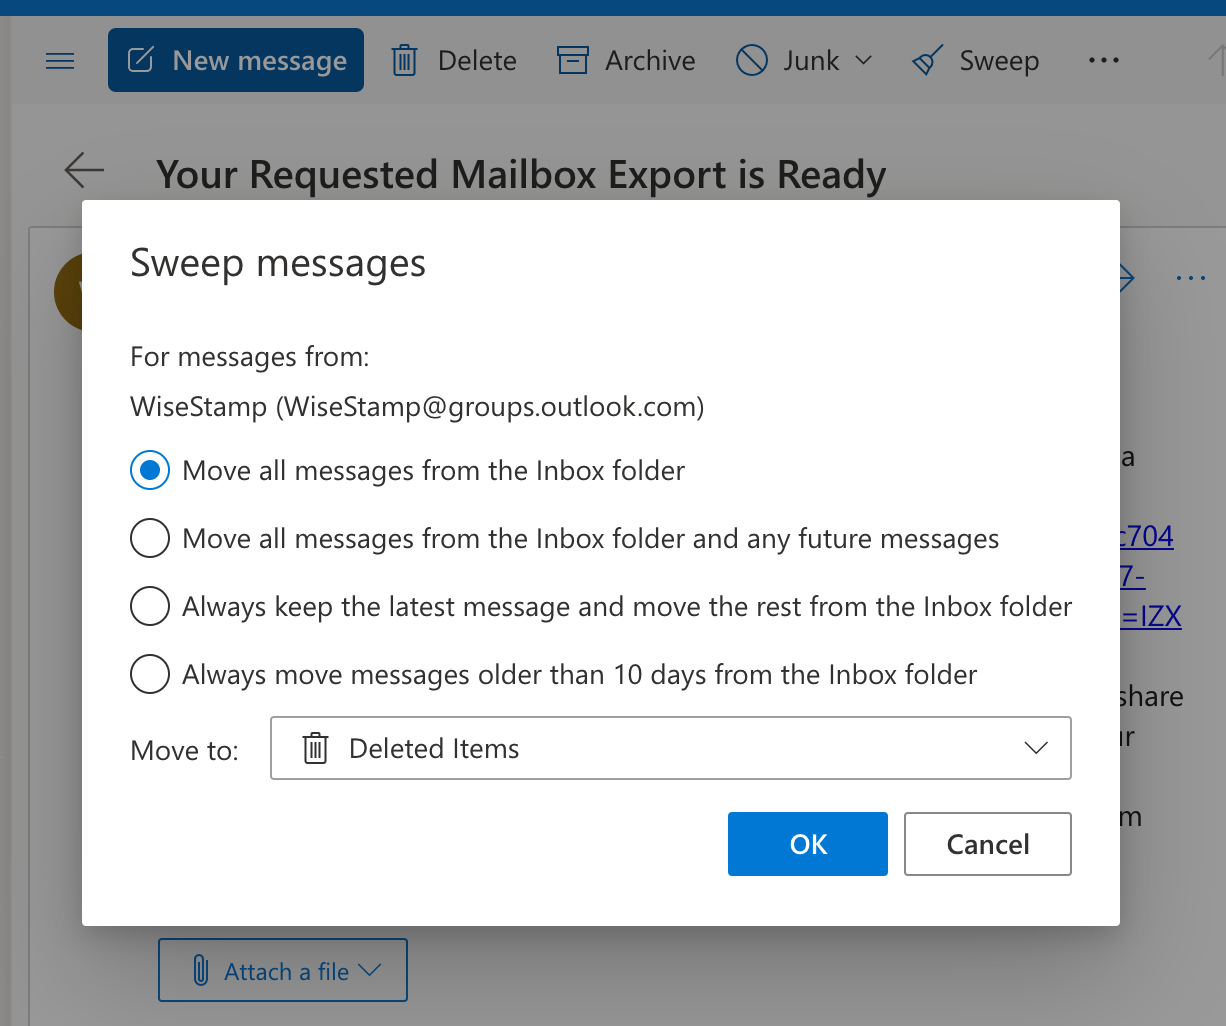
- Move all messages from the inbox folder
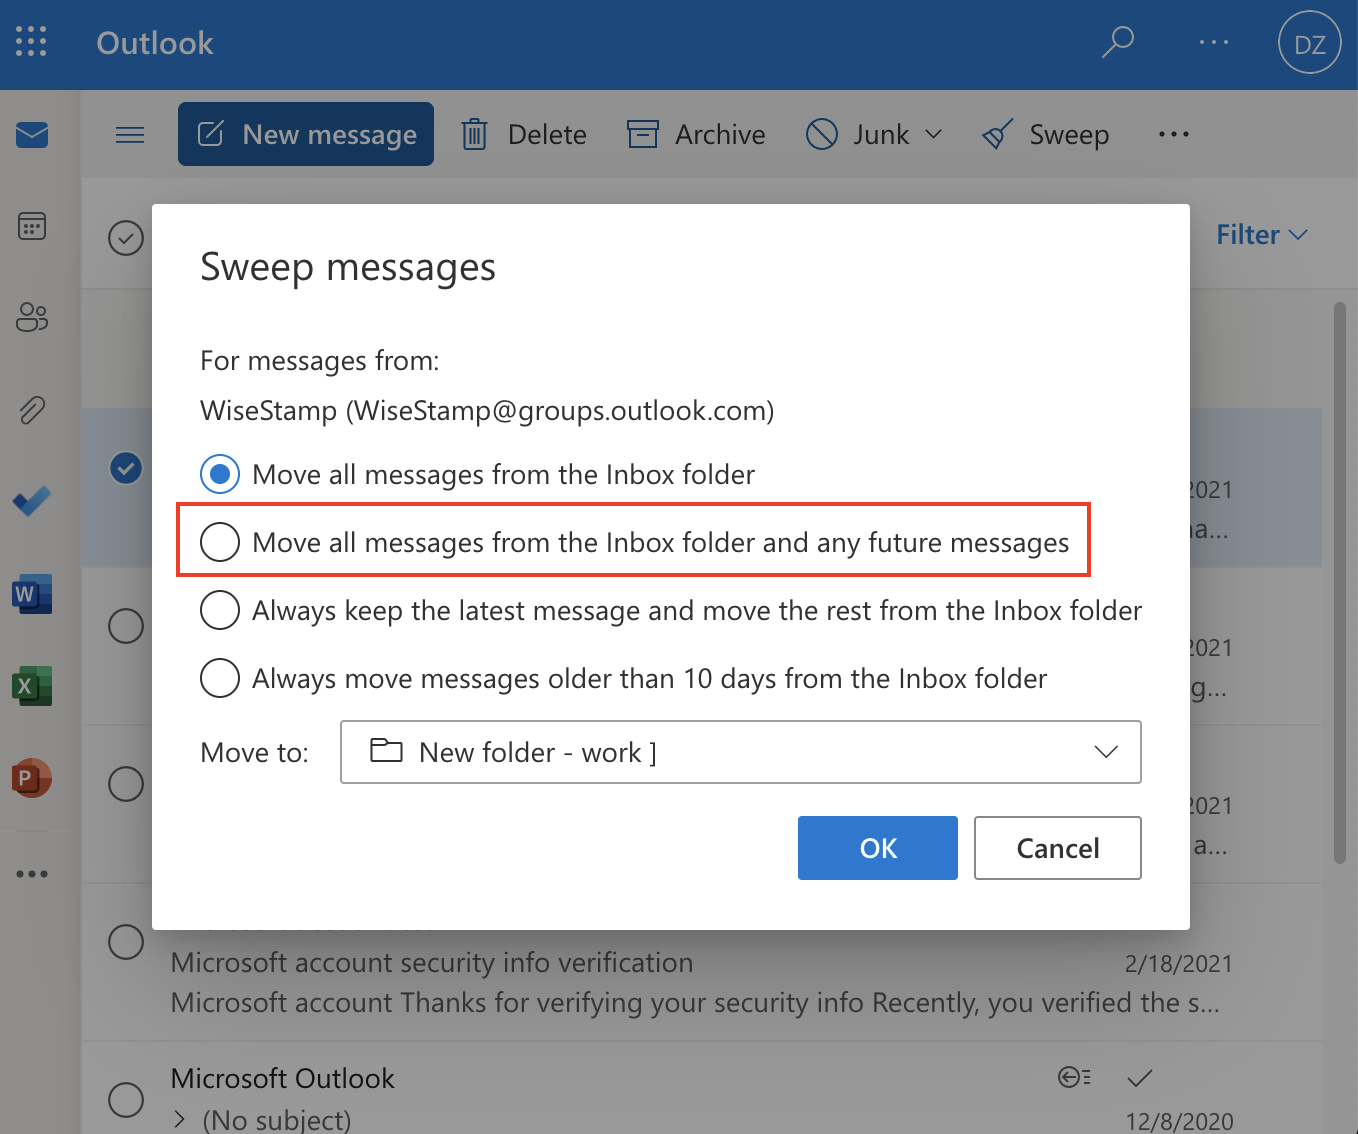
- Move all messages from the inbox folder AND any future message
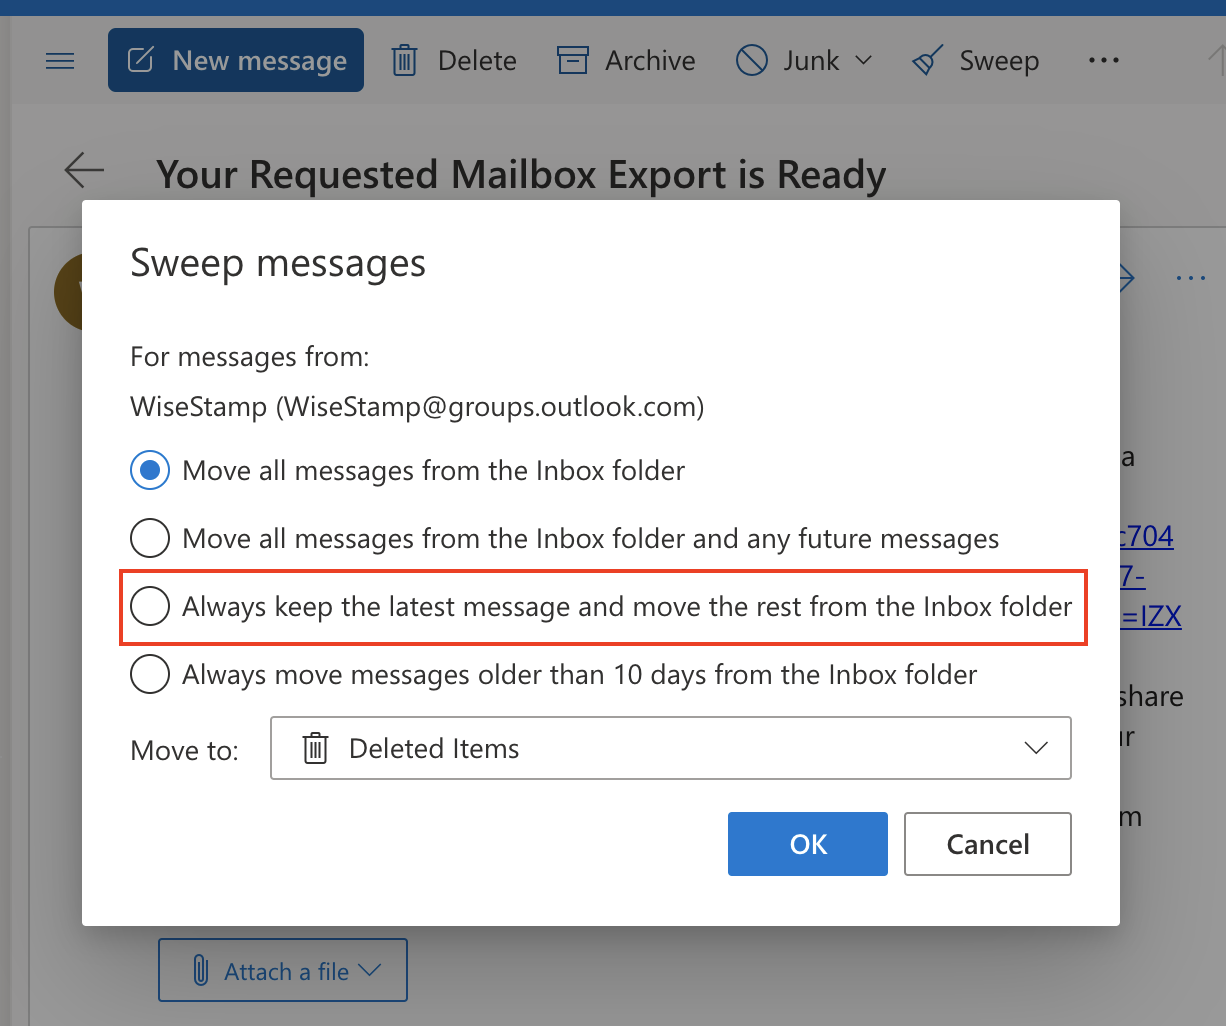
- Always keep the latest message and move the rest from the inbox folder
- Always move messages older than 10 days from the inbox folder
What folder to move the messages to
Next to “Move to” at the bottom of the panel you have a drop-down menu that list the system default folders like “Deleted items” and “Archived”. You also have the option to search for any other folder you have set up, or create a new folder.
How to use Outlook sweep
As you get ready to use Outlook Sweep to move your messages, it is important that you know the folder where these messages should go to. E.g; To delete the messages, you would ideally choose to move to the Deleted Items folder. However, you have the option of choosing any other folder or even creating a new one.
With that settled, here are the various functions that you can achieve with the Sweep feature:
1. Move all messages from the Inbox folder
Not everyone wants their Inbox full of messages. You can easily free up your Inbox by moving all messages at once to your designated folder. This operation using Sweep rules is effective as it takes away the hassle of selecting one message at a time.
The feature can become useful in a number of scenarios. For example, assume that it is at the end of the year and you would like your emails categorized on a yearly basis moving forward. You could create a folder called “Past Emails” and then run the Sweep rule to move all the older emails from Inbox to the specified folder. In subsequent years, you could be running the rule to move from Inbox to the folders named using the year sequence.
Another case where you may find the function useful could be when you want to delete everything from your Inbox. In this case, you would simply run the Sweep rule to move all messages from the Inbox folder to Deleted Items.
As you use the “Move all messages from the Inbox folder” functionality, it is crucial that you pay attention to where you are moving the messages. The last thing you want is to accidentally select Deleted Items when you did not intend to delete the messages in the first place.
2. Move all messages from the inbox folder and any future messages
This functionality is a one-time execution. If you want to move current messages and any future messages from your Inbox, you will need to use the second option. You can use “Move all messages from the inbox folder and any future messages” to avoid the hassle of having to constantly clear your Inbox.
This rule works best, for example, if you want your Inbox to always stay clear of any messages after every 24 hours. You could create a folder where the messages will move to a mentioned period. If you received a new email in your Inbox folder on a Monday at 8 A.M., it would be moved to your designated folder by Tuesday around the same time.
If you prefer clearing your mailbox after every 24 hours, this feature will work best for you. All that you have to do in this case is set the move to the Deleted Items folder. When the rule runs, it will always delete the messages that were received in your Inbox.
Please remember that this function can run in any folder, making it a powerful way to handle your filing system. For instance, if you normally manually move your emails to certain folders, you can use this function to automate the process.
3. Always keep the latest message and move the rest from the inbox folder
Similar to the Conversation Clean Up tool in Outlook desktop and macOS applications. This is a third option dynamic replica of what that tool does. Of course, Conversation Clean Up is good. However, it only runs manually when you tell it to perform some operation. With Sweep’s third functionality, you become comfortable because the rules that you define will remain effective automatically.
The function does as it is described. If you get the latest messages, they will remain in your Inbox, while the rest will be moved to a folder that you have settled on. For instance, you may set it to go to the Deleted Items folder, effectively freeing up your mailbox.
Generally, you may not find this function quite helpful when it comes to other people’s messages because you often get emails about all kinds of things. It is great when dealing with reminder emails from regular alert messages or a timesheet system. You could create a folder where such alerts go to, then run a Sweep rule to free up that folder occasionally.
4. Always move messages older than ten days from the inbox folder
Some people often get swamped with emails to the extent that they do not know what to do. In most cases, they spend the majority of their time deleting these emails or marking them as “read” just to get rid of them. After all, when you have so many messages to read, it is easy to feel quite overwhelmed.
Luckily, you have this Sweep rule that helps you do the job for you automatically. With the option, you can manage the emails that you do not deal with within a week or those that you would never deal with at all. You have no business keeping such emails in your Inbox.
In other cases, you may have a specific folder where time-limited emails go to. For instance, if you get emails about local events within the next week. You could set this automatic rule to clear those for you after every ten days.
Remember that you can do whatever you like with the four Sweep functions. This high-level customization is what makes the feature very effective and helpful. Use various rules and fit them within your requirements. You can work around the rules in any folder apart from the sent emails.
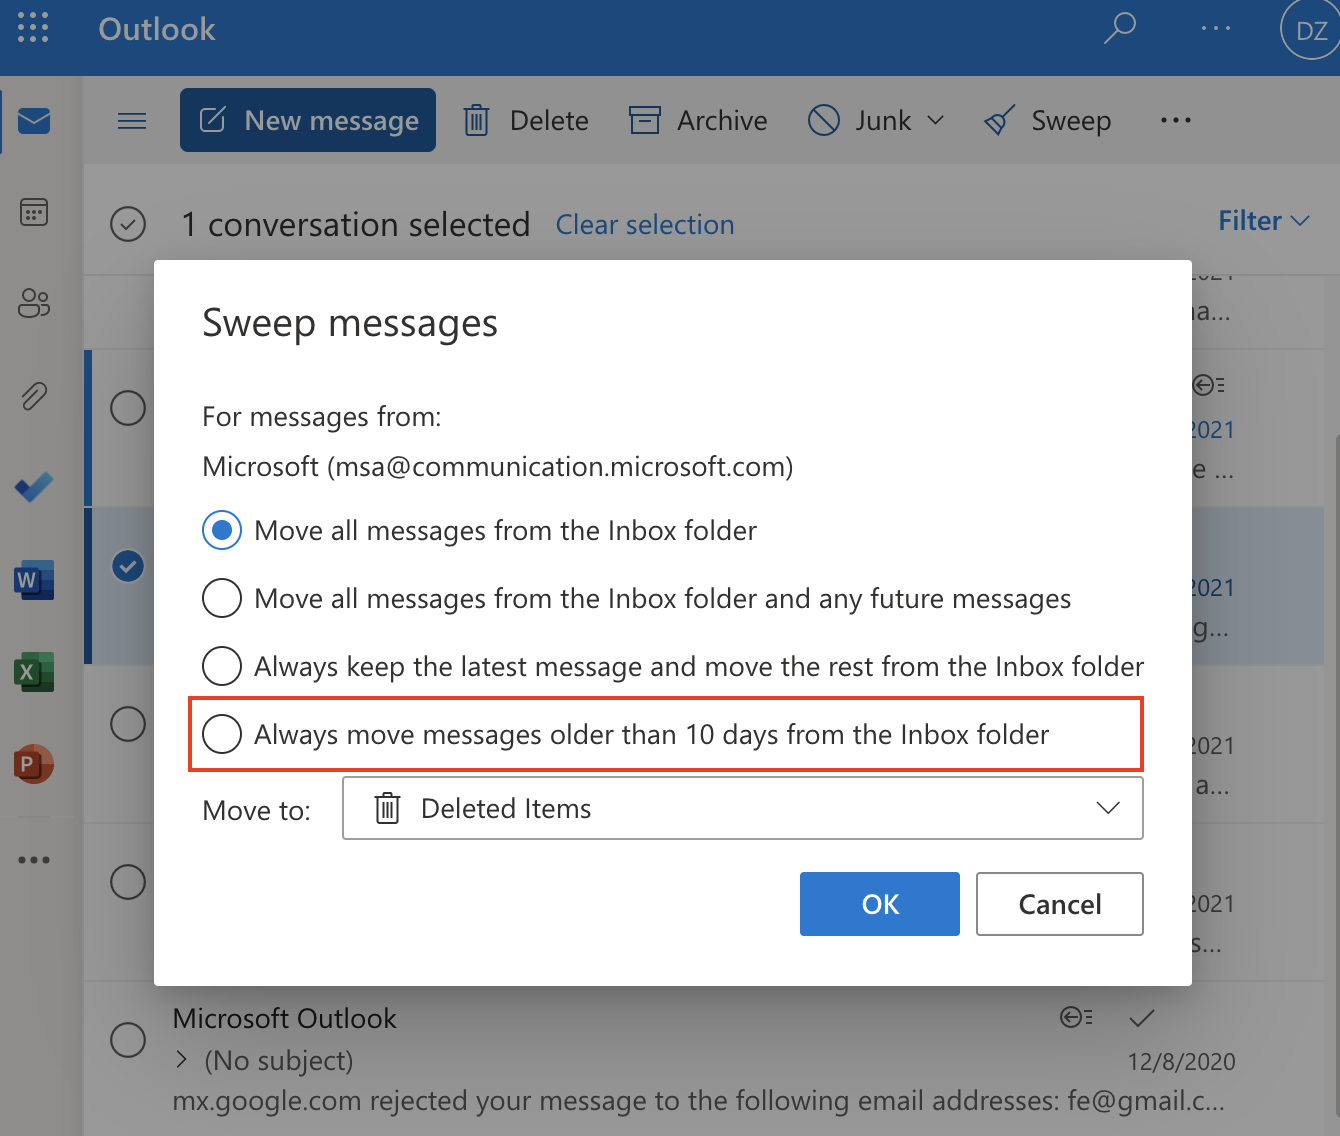
Create a new folder for Sweep
1. Go to the folder where you want to apply the Sweep rule and open one email in that folder

2. Click on Sweep, from the top toolbar,

3. Click the drop-down icon next to “Move to:” when a popup window appears
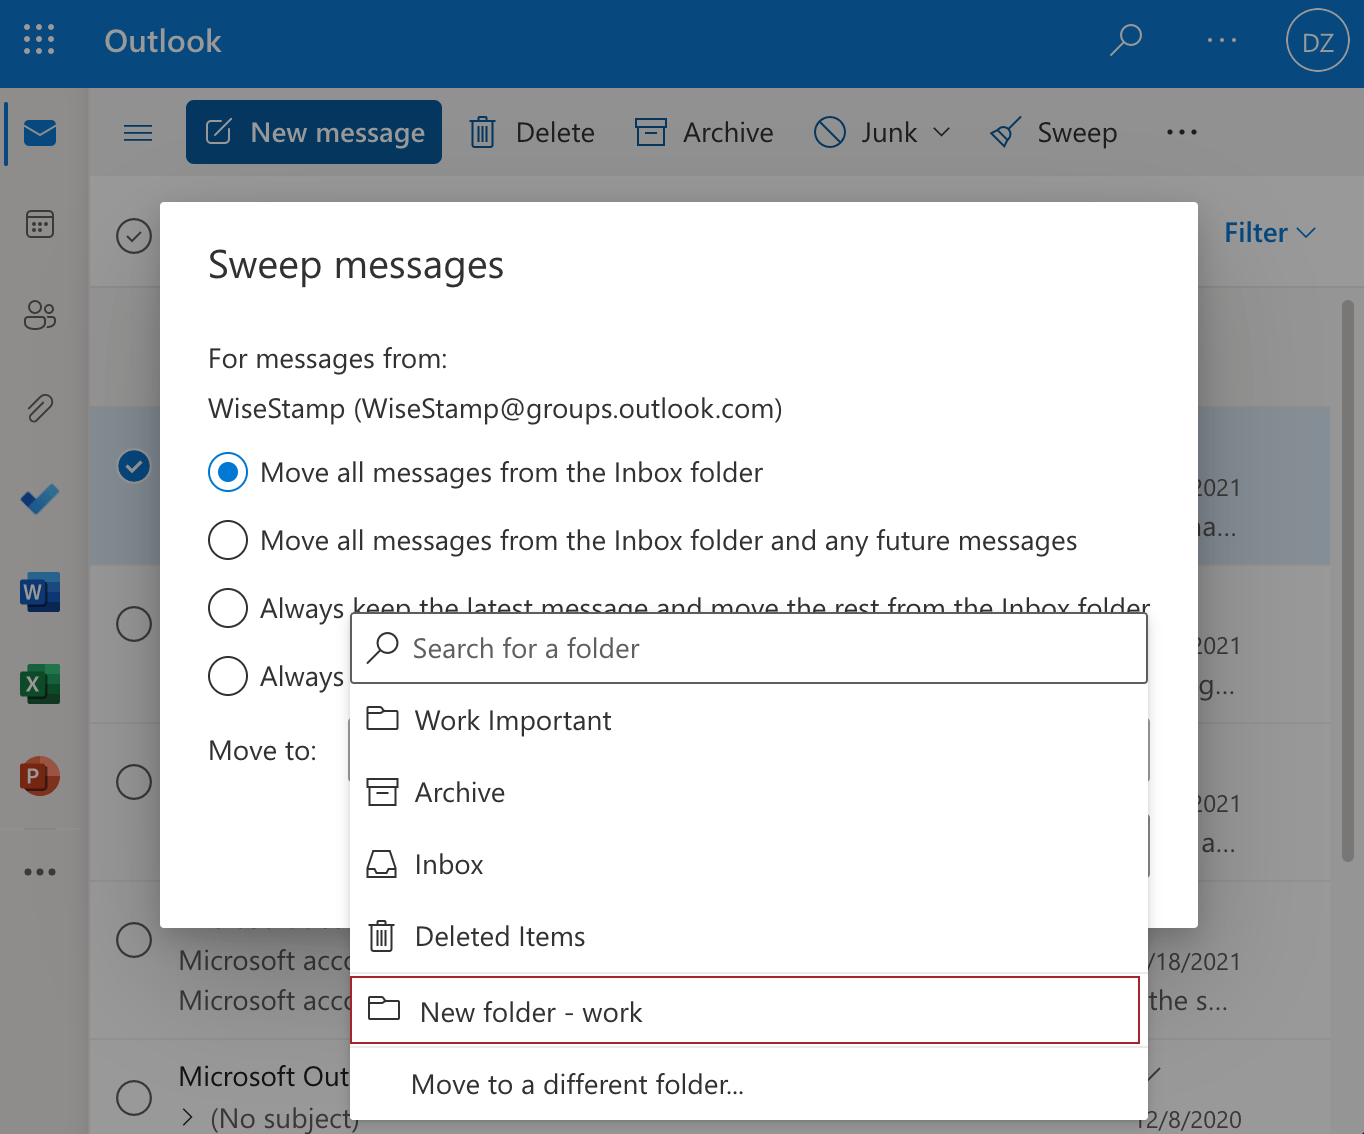
4. Choose New Folder from the options. Name the folder and click on the Enter key on your keyboard
Outlook Sweep not working?
Solution 1 – Clear browser cache and re-login to account
If your Outlook Sweep functionality is not working, it could be a result of an issue with the browser that you are using. Follow these simple steps to resolve the problem:
1. Clear the cache and cookies of your browser
2. Restart your browser
3. Sign in to your account and try to create a sweep
Solution 2 – Check if there are issues with Microsoft services
Sometimes Outlook Sweep may fail to work due to an issue with Microsoft servers or software in general. In this case, you are better off waiting for a few hours to check if the issue resolves. You may even search online to see whether other users are having issues with Microsoft programs.
Solution 3 – Access your Microsoft account from Microsoft Edge
Most people love Google Chrome. However, the two tech companies have always been antagonistic. Thus, Microsoft developers may have pushed an update that makes it difficult to use your account on Google Chrome. In this case, you may try Edge and see how that works out for you.
How to undo Sweep rules?
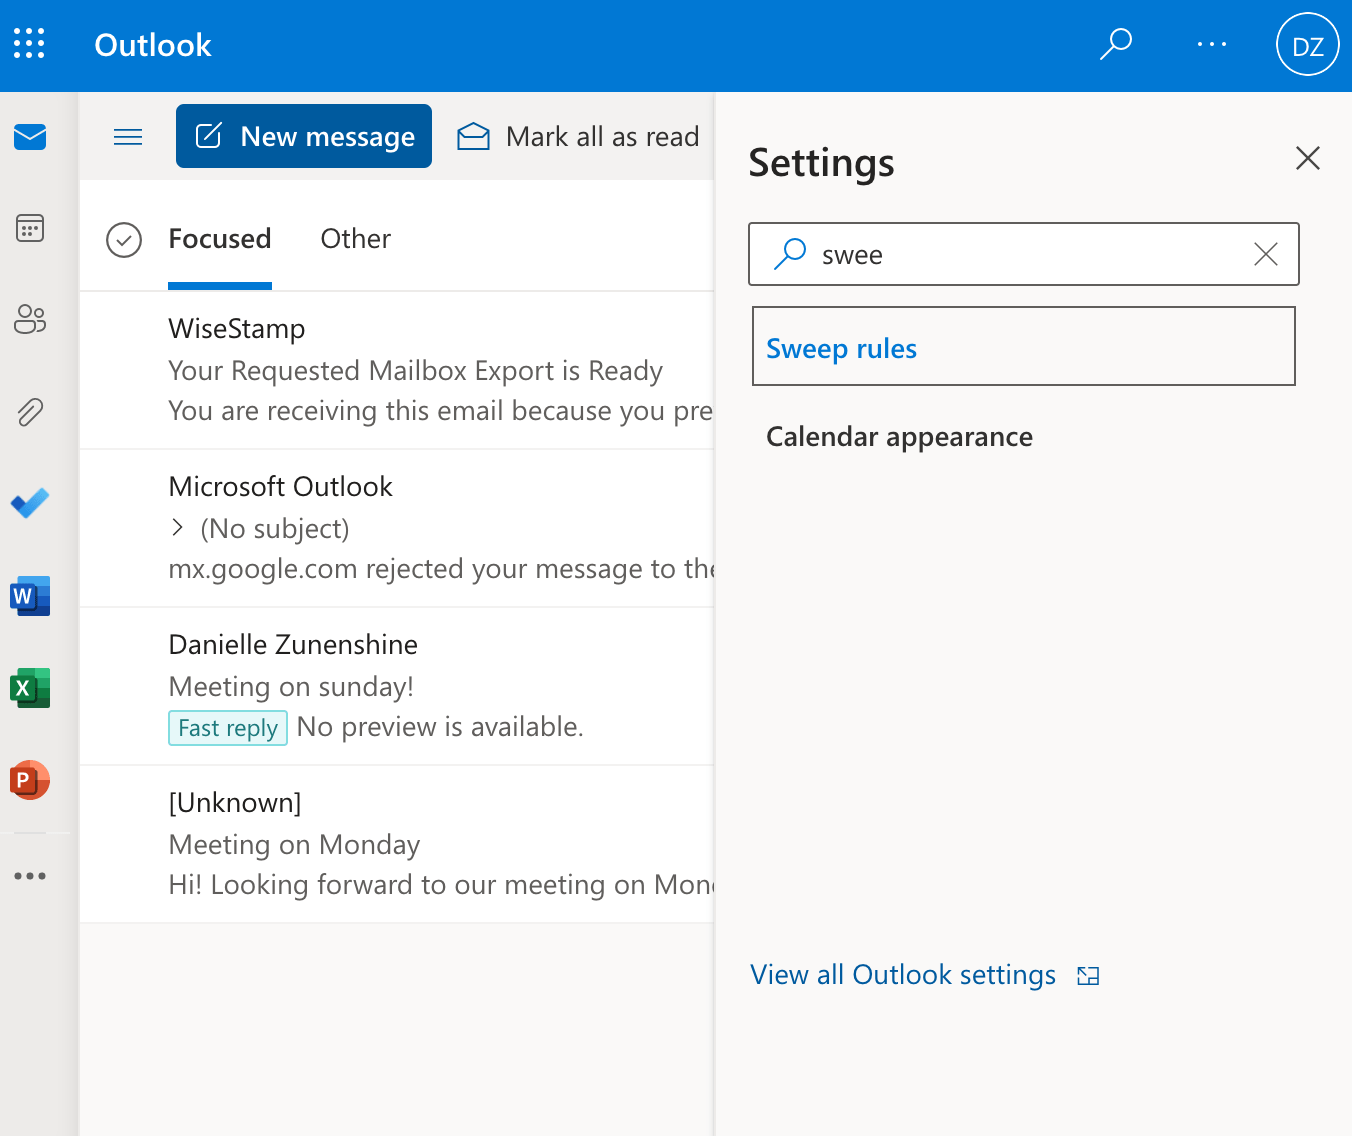
1. Click the setting icon in the upper right corner of the screen
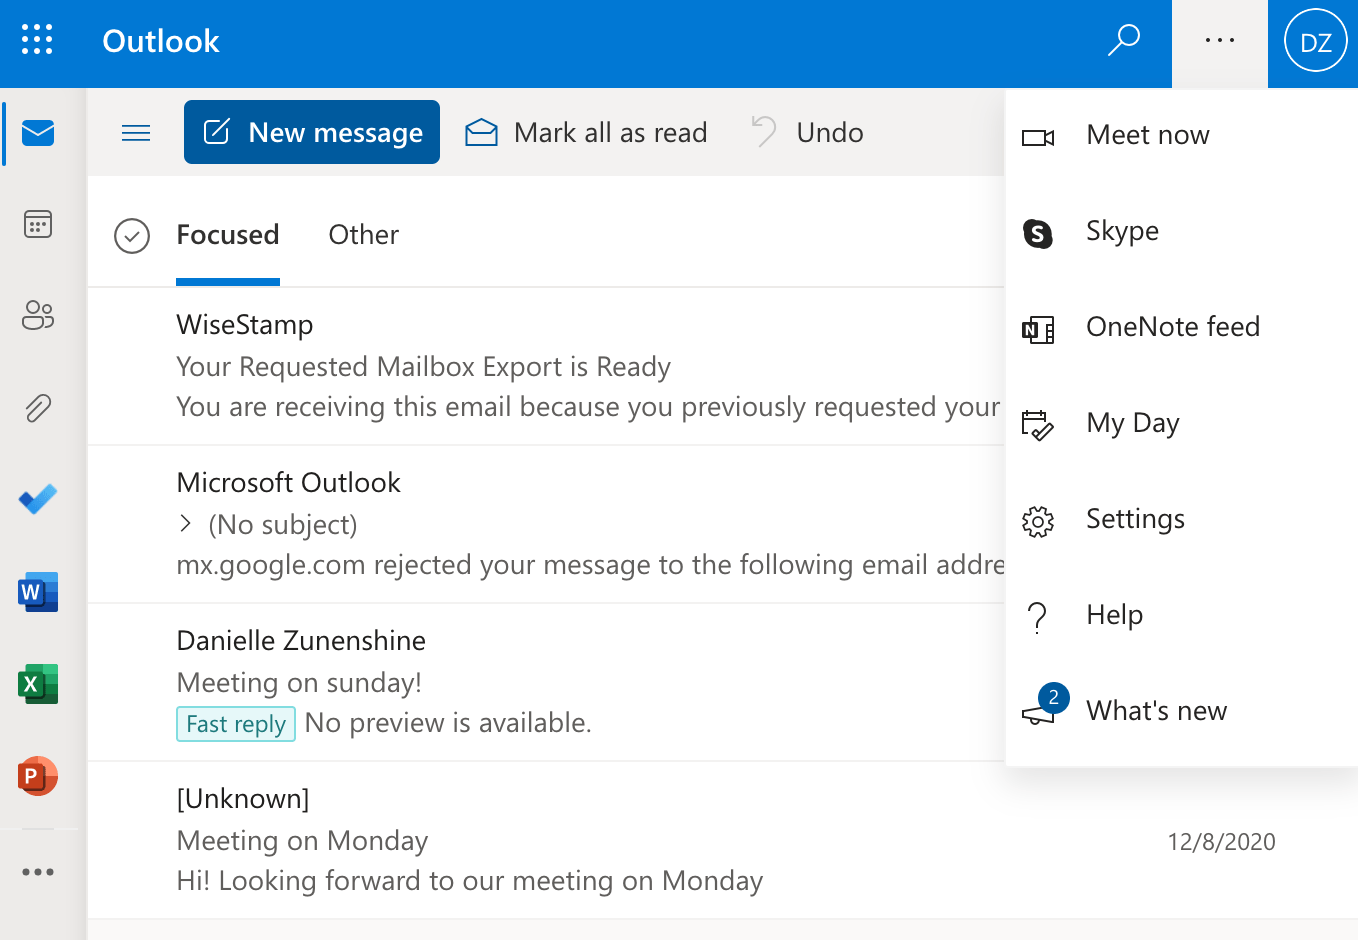
2. Type in Sweep rules and remove any rules that were created.
